If you have a subscription to Community Qualifier, you can create your own custom list of saved nonprofits, unique to your user account. Once you’re logged in, you can add nonprofits to your list either from the search results page or from an individual nonprofit profile. This article provides a detailed guide on how to create and access your own list of saved nonprofits as well as how to download, print or delete individual nonprofit profiles from your list of saved nonprofits.
Save nonprofits to your list from the search results page
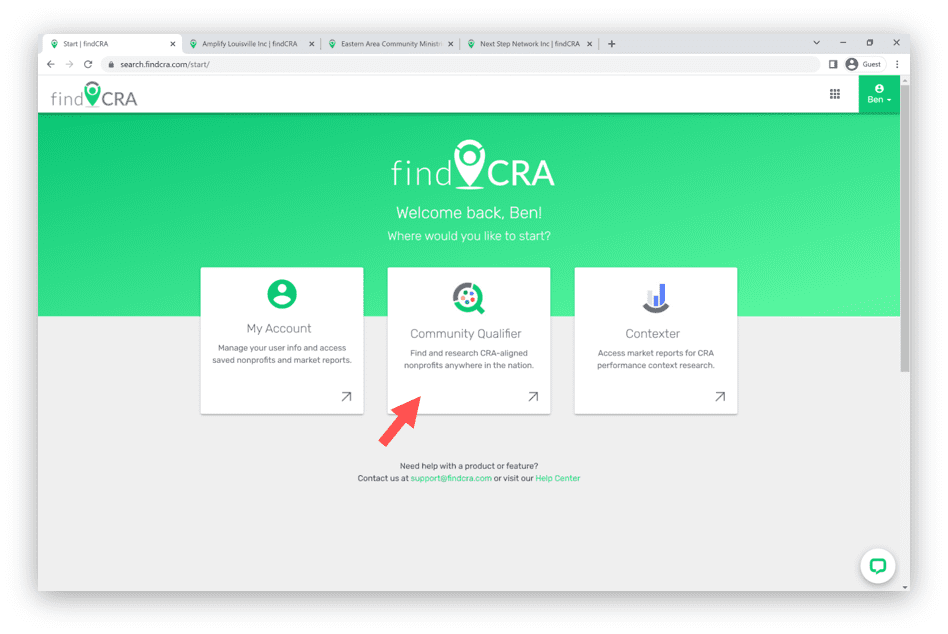
Step 1: Log in and open Community Qualifier
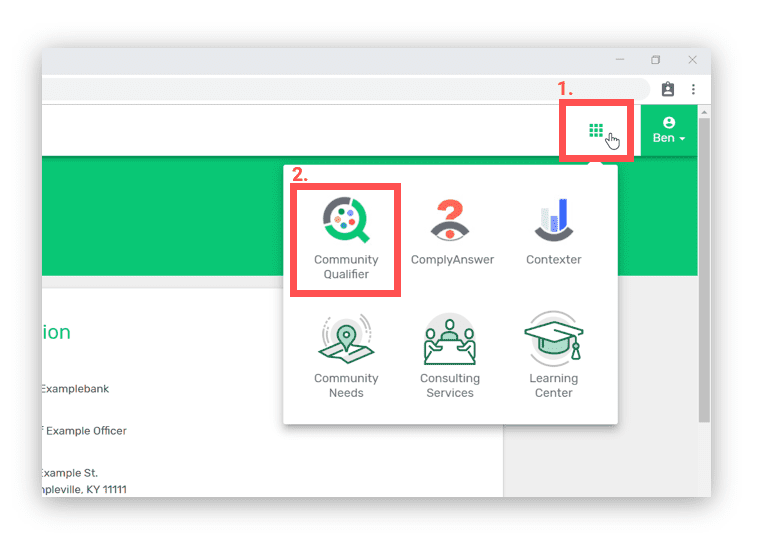
NOTE: If you are logged in, you can open the Community Qualifier primary search page anytime from the navigation menu by clicking the square grid icon in the upper right corner and then clicking the Community Qualifier icon.
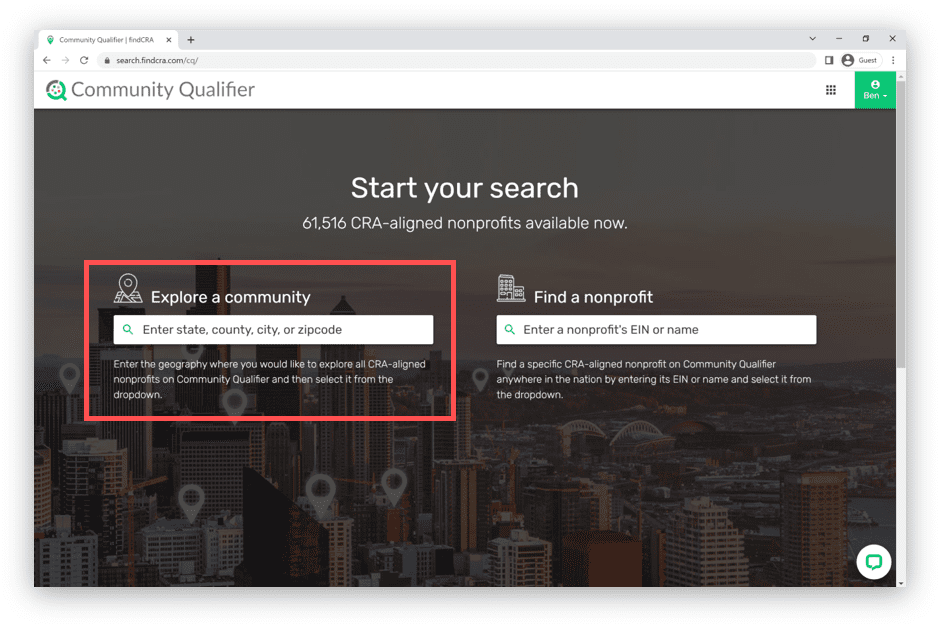
Step 2: Search in any U.S. geography.
From the Community Qualifier primary search page, enter a state, city, county, or zip code using the geography search bar on the left side of the page, labeled “Explore a community”.
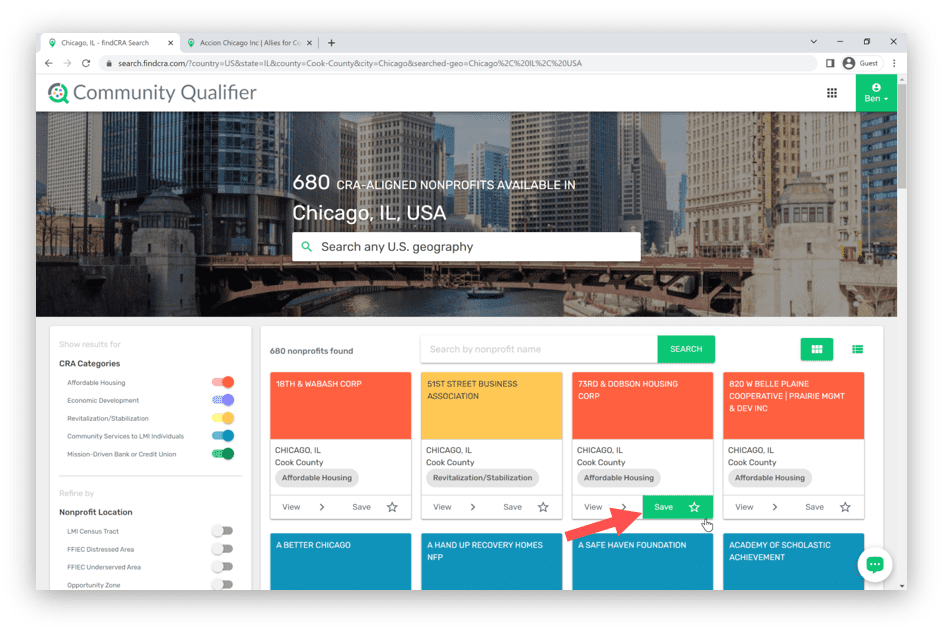
Step 3: On the search results page, click the “Save” button on nonprofits you want to add to your list.
Once you’ve found a nonprofit that you want to save to your custom list from the geography search results, simply click the “Save” button on that nonprofit listing to add it to your own list of “Saved Nonprofits”. The “Save” button has a star icon in it and this can be done from either the Card View or List View of search results. The star icon will turn yellow once a nonprofit is saved to your custom list.
Card View:
List View:

Tip: Use the filters, keyword search or pagination buttons to locate the nonprofit(s) you want to save,
Save a nonprofit to your custom list while viewing its profile
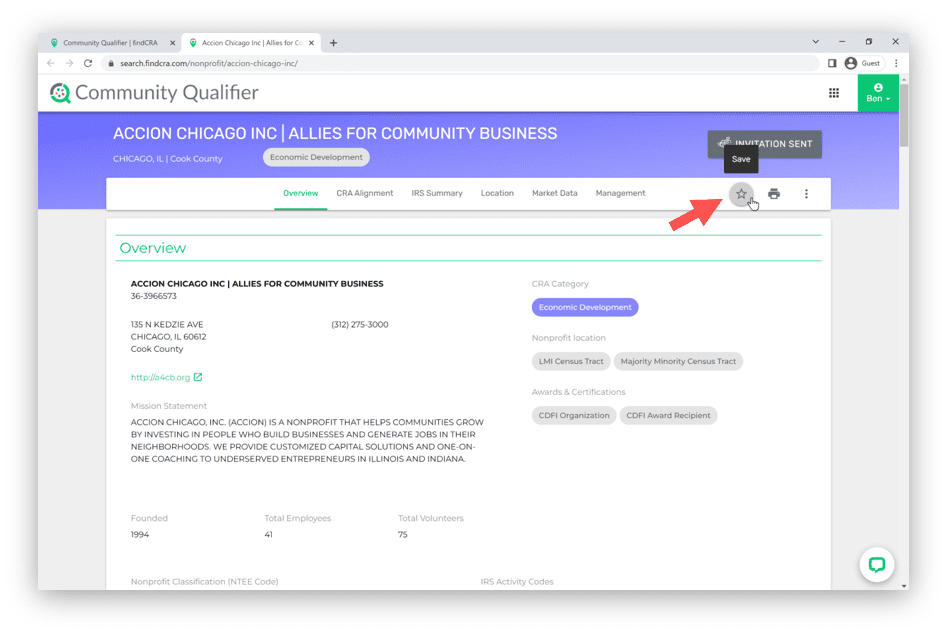
To save a nonprofit while viewing its profile, simply click the “Save” button with a star icon in it that’s located on the right side of the profile navigation bar. The star icon will turn yellow once a nonprofit is saved to your custom list.
Access and manage your list of saved nonprofits
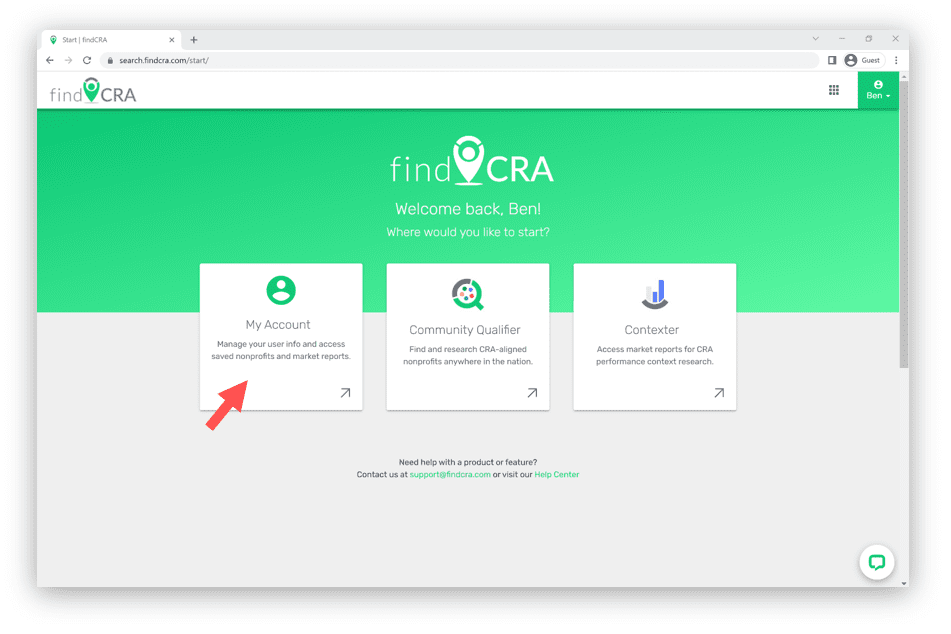
Step 1: Log in and open My Account
Step 2: Click on the “SAVED NONPROFITS” tab.
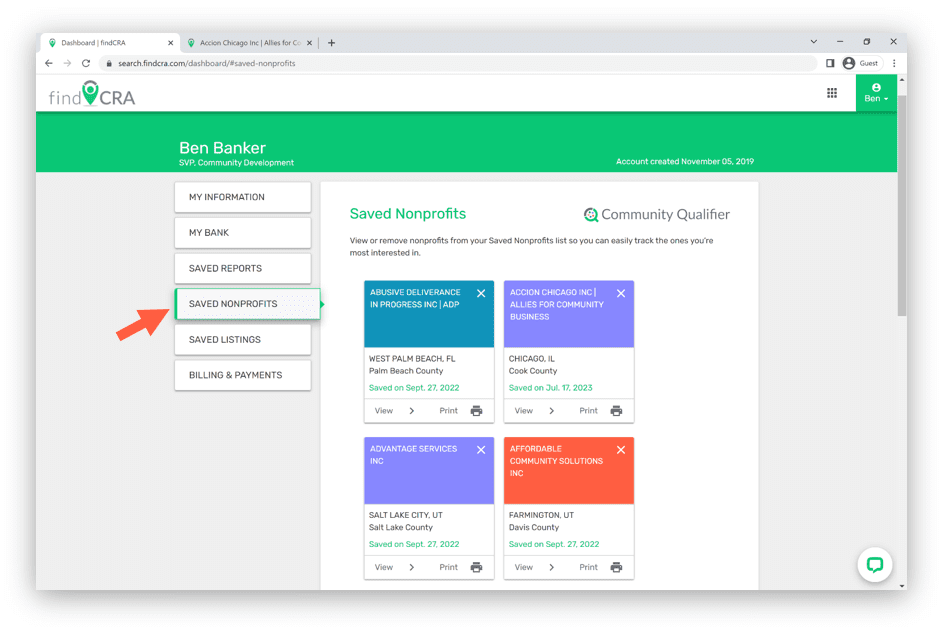
View or print a nonprofit profile from your Saved Nonprofits list using the the buttons located at the bottom of each individual listing. To download a profile, click the “Print” button to open the profile as a PDF file in a separate browser window – from that separate window, use your browser’s download feature to download the PDF to your PC, laptop or other drive. To remove a nonprofit from your custom list, click the “X” button in the top right corner of the individual listing you want to remove.
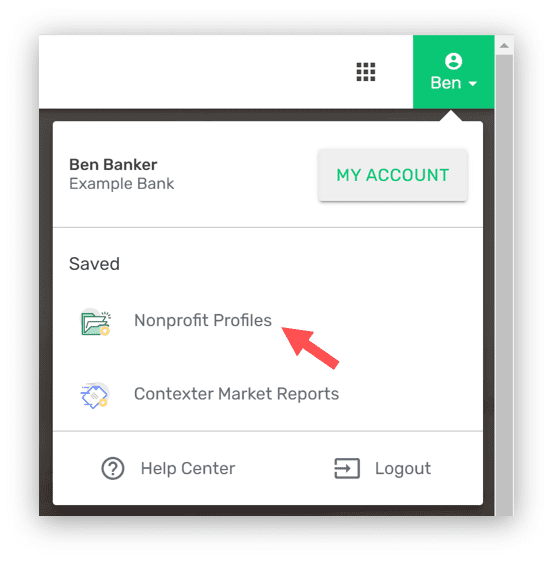
NOTE: If you’re logged in, you can access the “Saved Nonprofits” section of your account dashboard anytime by opening your user dropdown menu in the top right corner of the page and clicking “Nonprofit Profiles” under the “Saved” section.